Ever looked up at the night sky and wondered how those swirling star patterns are captured? That is star trails photography, a fascinating way to show the motion of stars. This article explores what it is, how it works, and how you can try it yourself.
Read More About Star Trails Photography
My First Go at Star Trails (Spoiler: I Froze My Toes Off)
I still remember the first time I tried star trails photography. I had no clue what I was doing, but I was determined to give it a go. It was the middle of winter, and I dragged my gear up a hill at 11 PM with nothing but coffee and curiosity fueling me. My hands went numb, I forgot to fully charge my camera battery, and let’s just say…I learned a lot that night.
But you know what? When I saw those swirling stars captured on my screen, I was hooked. Totally worth it.
As an Amazon Associate, I earn from qualifying purchases. Some of the links in this article are affiliate links. This means that, at zero cost to you, I will earn an affiliate commission if you click through the link and finalize a purchase.
And if you’re reading this, you’re probably curious too—or maybe you’re already knee-deep in test shots and frustrated by airplane light trails (ugh, the worst). Either way, I’m here to walk you through it like a buddy who’s made all the mistakes for you.
More Things to Know About Star Trails Photography
There are always more things to know about star trails photography, like timing, exposure settings, and finding the perfect dark sky spot.
So, What Is Star Trails Photography?
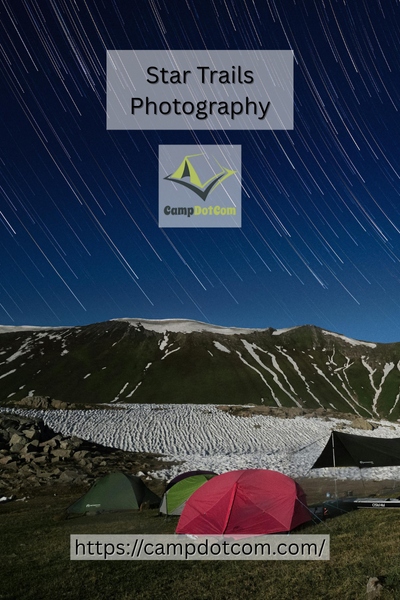
Star trails photography is the art of capturing long exposure images of stars as the Earth rotates. Instead of tiny points of light, you get sweeping arcs or circular trails across your photo, almost like brush strokes painted by the cosmos. Pretty amazing, right?
These trails are not caused by the stars moving across the sky, although they technically are. What is really happening is that you and your camera are spinning along with the Earth. That is why you see that dreamy spiraling effect when the shutter stays open long enough.
What You’ll Need (Don’t Worry, It’s Not Fancy)
Okay, so here’s where people get scared off. “I probably need NASA-grade equipment.” Nope! For star trails photography, you need three basics:
- A camera that can shoot in manual mode (DSLR or mirrorless)
- A sturdy tripod (your best friend for long exposures)
- A remote shutter release or intervalometer (your actual best friend—no camera shake!)
That’s really it. Oh, and patience. Lots of it.
Picking the Right Night
You’ll want a clear, moonless night. Light pollution is the enemy here. So head out of town, avoid street lights, and pray for cloudless skies.
Apps like Stellarium or PhotoPills are great for planning. Personally, I like to go out after midnight when things are super still and quiet. Plus, fewer cars would equals fewer chance of random light flares.
How Long Should You Shoot?
Here’s where it gets fun. You’ve got two main ways to shoot star trails photography:
One Long Exposure
This means leaving your shutter open for, like, 20 to 60 minutes. Risky though—your sensor might overheat, and if anything goes wrong (a bug on your lens, a flash of lightning), your whole shot’s toast.
Stacked Short Exposures
This is the smarter move. Take hundreds of shorter shots (say, 30 seconds each) over an hour or so, then combine them in post using free software like StarStaX. I always use this method now. Save your camera and your sanity.
My Secret Sauce for Killer Trails
Here’s my personal trick: I set my camera to manual, ISO 800-1600, aperture wide open (usually f/2.8 or f/4), and a 30-second shutter. Then I just let it snap continuously with the intervalometer doing all the work.
And bring snacks. Seriously. Watching a sky full of stars while munching on trail mix? Pure joy.
Common “Oops” Moments (And How to Avoid Them)
Your star trails look choppy? You probably had gaps between shots. They’re too faint? Try a darker sky or a higher ISO. Forgot to focus? Yep, I’ve been there. Always focus manually on a bright star or use live view zoomed in.
Also, layer up. You’ll be out there a while, and the cold creeps in quickly.
Composing the Shot
Point north (or south if you are in the southern hemisphere) to capture those classic spiral trails. Want something different? Try pointing east or west for swooping curves across the sky. Frame your shot with some foreground like a tree, a cabin, or even your tent. It makes the image much more engaging.
The Best Part? It’s Addictive
Once you nail your first shot, you’ll be chasing clear skies like a maniac. Every star trail photo feels like a cosmic trophy. I still get giddy seeing those curves appear in my final stacked image. It’s like the universe showed up for a photo shoot just for me.
And yes, even now, I sometimes forget my gloves and curse at mosquitoes. But I keep going back because there’s something magical about freezing a slice of the Earth’s movement into a single image.
Capturing Timeless Beauty with Star Trails Photography
Star trails photography is not just about technique. It is about spending time under the stars, slowing down, and creating something truly awe inspiring. You do not have to be an expert or have the fanciest gear. You just need curiosity, a little patience, and maybe a good thermos.
So grab your camera, go find a dark patch of sky, and start experimenting. Your first attempt will not be perfect (mine was hilariously bad), but it will be yours, and that is where the magic starts.
Have you tried star trails photography before? Let me know how it went or what is holding you back. I am all ears!