So, you have been scrolling through Instagram or Pinterest, and a jaw dropping photo of the Milky Way pops up. Maybe you even thought, “Wow, how do people take photos like that?” That is exactly how I stumbled into the world of astrophotography basics. Curious, a little clueless, and totally captivated.
I’ll be honest with you, the night sky used to be just there. It was pretty, sure, but not something I thought I could actually photograph myself. Then one summer night while camping with friends, I tried taking a picture of the stars on my phone. The results were laughable, a black screen with maybe one confused looking star.
Still, that blurry fail sparked something in me. I became curious about what it would take to photograph the night sky properly. From that moment on, I was determined to learn.
As an Amazon Associate, I earn from qualifying purchases. Some of the links in this article are affiliate links. This means that, at zero cost to you, I will earn an affiliate commission if you click through the link and finalize a purchase.
Read More About Astrophotography Basics

What Even Is Astrophotography?
Let’s clear this up first. Astrophotography basics simply means taking photos of stuff in space—stars, planets, the moon, galaxies, you name it. You don’t need to be an astronaut or own a telescope the size of a car. It’s not about having fancy gear (though I’ll cover that too), it’s about learning to work with light, time, and a whole lot of patience.
The Gear: What You Actually Need
Okay, let us talk gear but do not worry, this will not break the bank. For beginners diving into astrophotography basics, a DSLR or mirrorless camera with manual settings is your best friend. Pair that with a sturdy tripod and you are already ahead of the game.
Lenses matter too. A wide angle lens with a low f stop (like f two point eight or lower) helps you soak in more light from the stars. If all you have got is a kit lens, that is totally fine to start with. You do not need perfection, you need practice.
More Things to Know About Astrophotography Basics
I started with a hand-me-down Canon and a basic 18–55mm lens. Nothing fancy. But it taught me how to frame the night sky and tinker with settings until things finally clicked—literally and figuratively.

The Settings: Manual Mode is Your New BFF
Here’s where things get real. One of the core parts of astrophotography basics is learning how to shoot in manual mode. That means setting your shutter speed, ISO, and aperture yourself.
- Shutter Speed: You’ll want a slow shutter speed (like 10 to 25 seconds). That gives your camera time to collect starlight.
- ISO: Crank this up to 1600 or even 3200 if needed, but don’t overdo it—too much ISO means grainy photos.
- Aperture: Keep it wide open (f/2.8 or whatever your lens can handle).
It might sound intimidating now, but once you play around with it a few times, you’ll start to get a feel for what works.
Finding the Perfect Location for Astrophotography
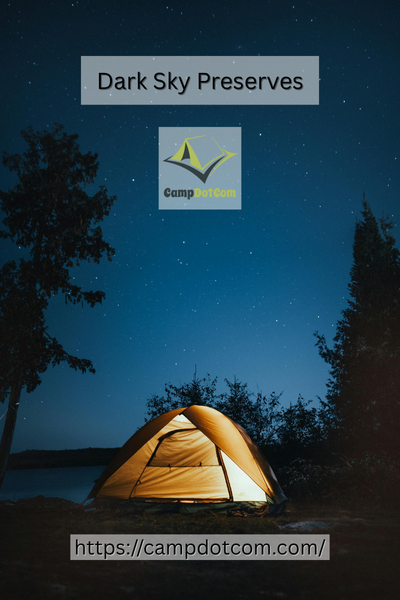
Light pollution is the enemy of good astrophotos. If you live in a city, you might need to drive out to a darker spot. Apps like Light Pollution Map or Sky Guide are super helpful for scoping out ideal places.
One time, I drove an hour out of town, parked by an empty field, and set up my gear under the clearest sky I’d ever seen. That night, I finally captured the Milky Way in all its glory. I still smile thinking about it—it was magic.
Tips for Not Getting Frustrated
Let’s be real: your first dozen shots probably won’t win any awards. And that’s okay. Part of astrophotography basics is accepting that you’ll make mistakes—like forgetting to focus (done that), or knocking over your tripod (also done that).
But here’s a trick: use your camera’s live view to zoom in on a bright star and manually focus until it’s razor-sharp. It makes a huge difference.
Also, take more shots than you think you need. And bring snacks. Trust me, standing around in the cold while your camera does its thing gets way better with a granola bar in hand.
Post-Processing: The Secret Sauce
Once you’ve taken your shots, it’s time to polish them up. Even the best raw astro photos look kinda gray and flat until you do a little editing. I use Lightroom for quick tweaks—boost the contrast, bring out the stars, reduce the noise.
You don’t have to be a pro at editing to make your shots shine. Just like everything in astrophotography, it’s a learn-as-you-go kind of deal.
Astrophotography Basics Lead the Way to Stunning Celestial Shots
I used to think that astrophotography was for people with telescopes and advanced science degrees. Now I know it is just as much for folks like you and me, curious, excited, and ready to chase starlight.
If you are just starting out, do not worry about perfection. Begin with the basics, try different things, make mistakes, laugh a little, and keep going. The stars are not going anywhere, and neither is your chance to capture them.
So grab your camera, find a dark spot in the sky, and start taking photos. You might be amazed by what you bring back from the edge of the universe.
Want help choosing your first camera or editing software? Leave your questions in the comments. I would be happy to help you get started.
