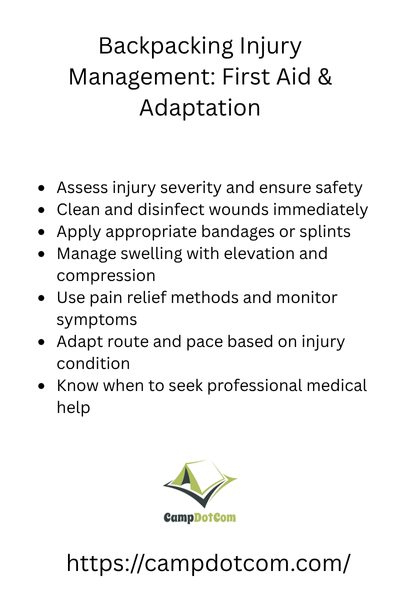
Backpacking is an adventure, but let’s be real—it can also be a magnet for cuts, sprains, and all sorts of unexpected mishaps. If you’ve ever tripped over a tree root or felt a blister forming miles away from civilization, you know what I mean. That’s why backpacking injury Management is an essential skill every hiker needs.
Read More About Backpacking Injury Management

The “Oops” Moment: Dealing with Injuries on the Trail
Picture this. You are trekking through the backcountry, soaking in the views, when suddenly you take a misstep and now your ankle is screaming in protest. Sound familiar? Injuries like these are common, and how you handle them can make or break your trip.
First Aid Essentials: What to Do When Things Go Sideways
Knowing a few key first-aid tricks can keep you safe and mobile. Here’s what to do for common backpacking injuries:
As an Amazon Associate, I earn from qualifying purchases. Some of the links in this article are affiliate links. This means that, at zero cost to you, I will earn an affiliate commission if you click through the link and finalize a purchase.
1. Sprains and Strains
Twisted ankles are almost a rite of passage for backpackers. If it happens to you:
- Stop moving immediately to prevent worsening the injury.
- Elevate and wrap the injured area with an elastic bandage (or even a spare sock in a pinch).
- Use trekking poles to take the weight off your injured limb.
- If it’s bad, consider cutting the trip short—there’s no shame in prioritizing your health.
2. Cuts and Scrapes
A minor scrape might seem like no big deal, but in the wild, infections can turn nasty fast.
- Clean the wound with water (boiled or filtered if necessary).
- Apply antiseptic (alcohol wipes or antibiotic ointment work wonders).
- Cover it up with a bandage to keep dirt out.
- Keep an eye out for redness or swelling—those are red flags for infection.
3. Blisters (Because They’re the Worst!)
A blister forming mid-hike? That’s a one-way ticket to misery.
- As soon as you feel that hot spot, stop and tape it up (moleskin is a lifesaver).
- If it’s already a full-blown blister, leave it intact unless it’s painful—then drain it carefully with a sterilized needle.
- Keep it dry and cushioned to prevent further irritation.
4. Dehydration and Heat Exhaustion
The sun’s beating down, and suddenly, you’re lightheaded and drained. Heat exhaustion is no joke.
- Drink water frequently—don’t wait until you’re thirsty.
- Find shade and cool down if you feel dizzy or nauseous.
- Electrolytes help—carry some rehydration salts or a sports drink mix.
More Things to Know About Backpacking Injury Management

Adaptation: When You’ve Gotta Keep Moving
Sometimes, you can’t just sit and wait for help. Here’s how to adapt and keep going after an injury:
Make Shift Crutches (Because Crawling Is the Worst Option)
If walking is painful but doable, grab a sturdy branch or use trekking poles as makeshift crutches. It’s not glamorous, but it works.
Reduce Your Load
A bum ankle? Make your pack as light as possible. If you’re hiking with friends, let them carry some of your gear. It’s okay to accept help—really.
Adjust Your Pace
This isn’t a race. If you’re injured, slow down, take breaks, and focus on making steady progress rather than pushing through pain.
A Lesson from the Trail
I once ignored a growing blister because “meh, it’s just a little sore.” Fast forward five miles, and I was hobbling like a zombie, every step a fresh kind of agony.
Lesson learned: listen to your body, and deal with small problems before they become big ones.
Staying Safe with Backpacking Injury Management for a Smooth Adventure
Nature is unpredictable, and so is your body. But with the right backpacking injury management skills, you can handle mishaps like a pro and keep the adventure going. Pack smart, stay aware, and always remember to respect your limits. After all, the best hikes are the ones where you make it back in one piece.
